Skip to Main Content
Vice Chancellor for Research and Creative Activities
Research & Creative Activities
Search Icon
Search the site:
Photo Gallery
Home
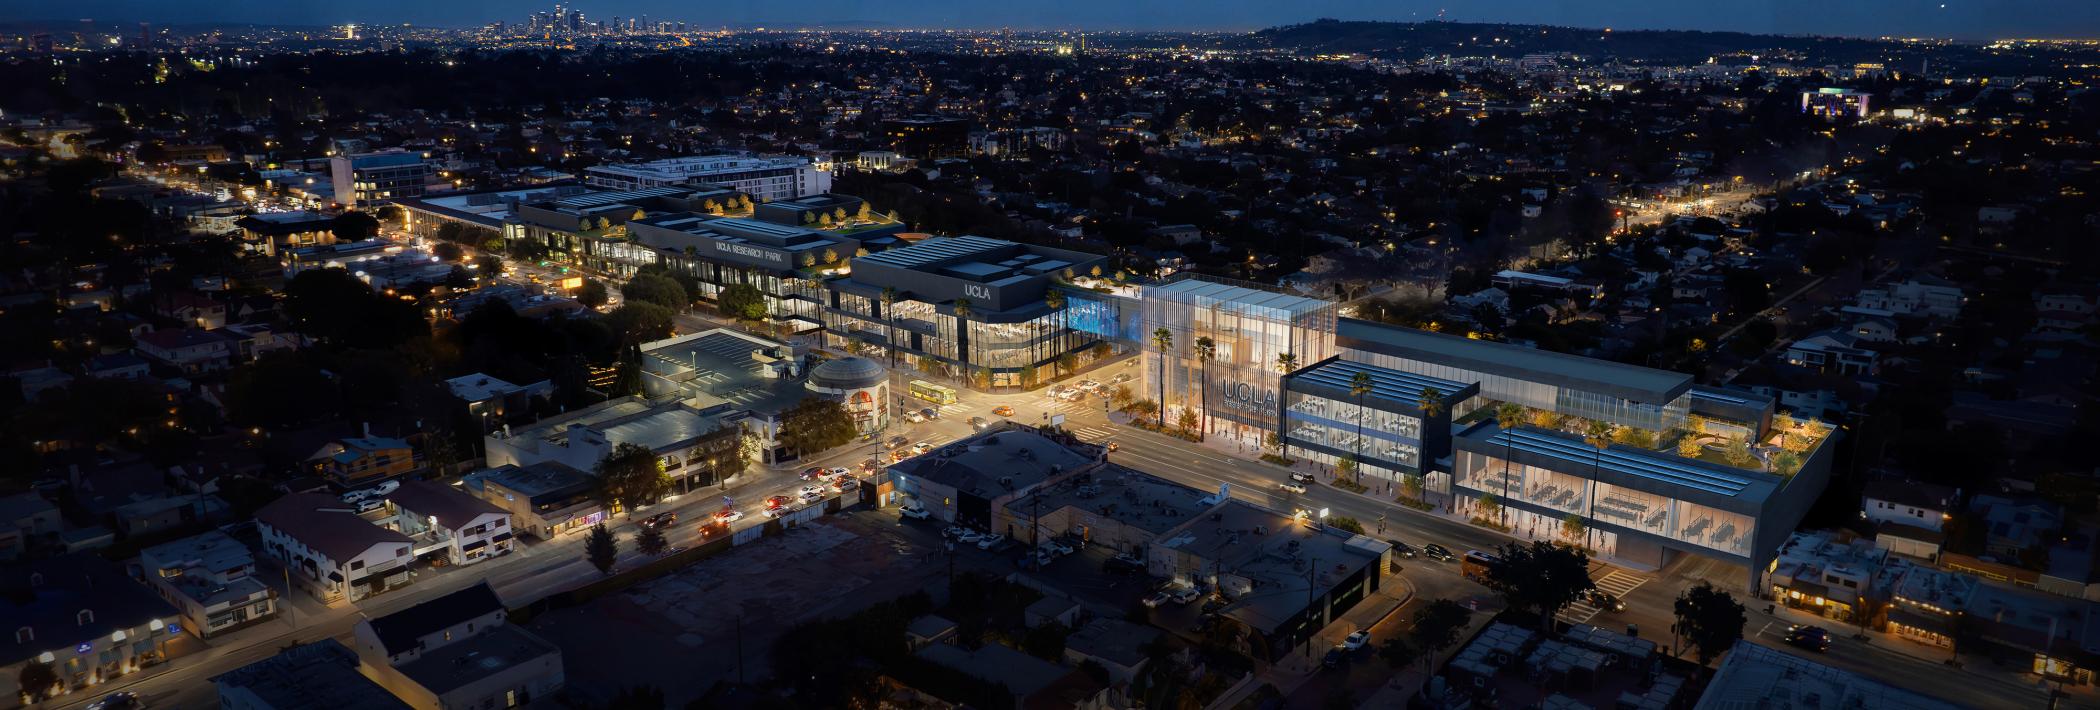
UCLA Research Park
UCLA Research Park
Photo Gallery
Photo credit: FLAD Architects
Photo credit: FLAD Architects
Photo credit: FLAD Architects
Photo credit: FLAD Architects
Photo credit: FLAD Architects
© 2025 Regents of the
University of California
Emergency
Accessibility
Report Misconduct
Privacy & Terms of Use
Facebook
Instagram
Linked
X
Youtube
TikTok
Threads